
Goblin Worker
These individuals specialize in work rather than combat and have inferior combat abilities compared to other goblins.

Traits & skills


This attack activates quickly.
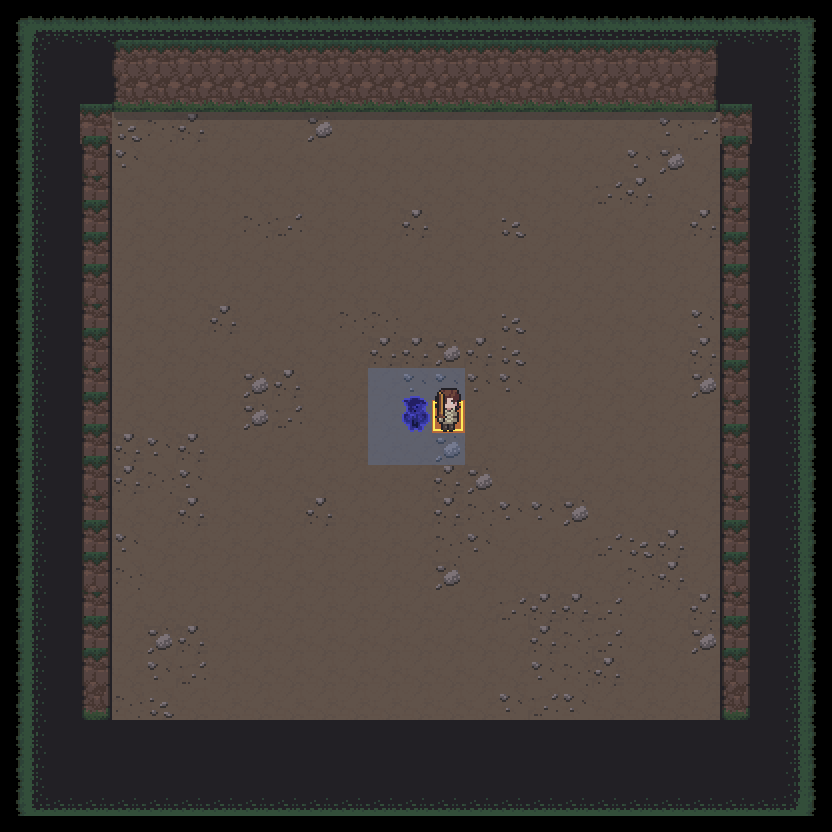


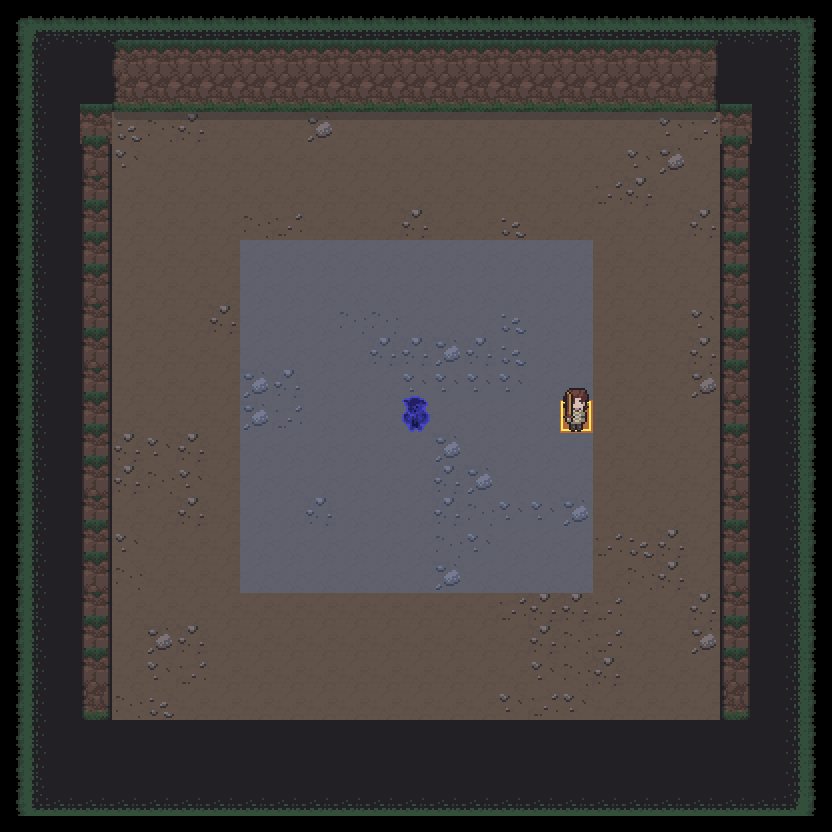

Each active skill shows its reach and area drawn on a real dungeon room; the disc marks the caster and the ring or highlighted cells the tiles hit. Click an image to enlarge.
Damage to your units
Expected hit against stock Lowell at the level cap, per combat difficulty tier. The tier set in the menu bar is highlighted; pick a saved unit to use its own resistances.

| Attack | Easy | Normal | Hard | Very Hard | Devastation |
|---|---|---|---|---|---|
| Goblin Attack 100% physical | 12 | 31 | 78 | 98 | 117 |
Combat stats
| Max HP | 1800 |
| Physical attack | 80 |
| Magic attack | 16 |
| Attack speed | 0.4 |
| Critical chance | 8% |
| Dodge chance | 10% |
| Hit chance (melee / ranged) | 50 / 50 |
| Critical damage bonus | +50% |
| Physical resistance | 0% |
| Magic resistance | 0% |
| Move speed (100 = normal) | 110 |
| Vision range | 8 |
| Head HP |  900 (50%) 900 (50%) |
| Body HP |  900 (50%) 900 (50%) |
| Size (W×H) | 1×1 |
| Sprite height | 1.3 |
| Blood type | Red_Small |
| Combat pattern | GoblinWorker |
| Behaviour | DefaultEnemy |
| On-death EXP | 24 |
Drops
DROP_Common_Power3| Item | Amount | Chance |
 Lesser Mana Stone Lesser Mana Stone | 3× | 32.26% |
| Lesser Mana Stone | 8× | 3.23% |
| Item | Amount | Chance |
 Bone Bone | 6× | 20% |
 Wild Herb Wild Herb | 9× | 13.33% |
Animations
Sprite animations extracted from the game's AnimatorController (Goblin_Controller). Frame timing is approximate.
Spawns
Spawns naturally in Combat / Core / Hard Combat / Patrol rooms of Festering Burrow from phase 1 onward - each group below is one possible room population.

| Spawn group | Region | Phases | Room type | Weight | Pool composition |
|---|---|---|---|---|---|
| Phase1 Combat1 | Festering Burrow | 1 | Combat | 100 | 3× Goblin Worker, 1× Goblin Brawler |
| Phase1 Combat2 | Festering Burrow | 1 | Combat | 100 | 2× Goblin Worker, 2× Medium Mud Slime |
| Phase1 Combat3 | Festering Burrow | 1 | Combat | 100 | 6× Goblin Worker |
| Phase2 Combat1 | Festering Burrow | 2 | Combat | 100 | 4× Goblin Worker, 2× Goblin Thrower |
| Phase2 Combat3 | Festering Burrow | 2 | Combat | 100 | 2× Goblin Thrower, 1× Goblin Brawler, 1× Goblin Worker |
| Phase3 Combat5 | Festering Burrow | 3 | Combat | 100 | 2× Goblin Brawler, 2× Goblin Worker |
| Phase1 Hard Combat1 | Festering Burrow | 1 | HardCombat | 100 | 4× Goblin Worker, 2× Goblin Brawler |
| Phase2 Hard Combat3 | Festering Burrow | 2 | HardCombat | 100 | 3× Goblin Worker, 2× Goblin Brawler, 2× Goblin Thrower |
| Phase1 Patrol Anomaly1 | Festering Burrow | 1 | Patrol | 100 | 2× Goblin Worker |
| Phase2 Patrol Anomaly1 | Festering Burrow | 2 | Patrol | 100 | 2× Goblin Worker, 1× Goblin Thrower |
| Phase3 Core | Festering Burrow | 3 | Core | 100 | 4× Goblin Worker, 2× Goblin Brawler, 1× Goblin Thrower |
Appears in rooms
Placed directly into 6 room templates (Combat / Event rooms in Festering Burrow) - each row below shows the floor and the chance of that room being rolled.

| Room | Region | Room type | Floors | Chance on floor |
|---|---|---|---|---|
| Medium-Sized Normal Battle Room | Festering Burrow | Combat | 2 | F2 51.6% |
| Small-Sized Normal Battle Room x3 | Festering Burrow | Combat | 1, 2 | F1 40.6% · F2 50.2% |
| Small-Sized Normal Battle Room x2 | Festering Burrow | Combat | 3, 4 | F3 65.1% · F4 62.8% |
| Small-Sized Normal Battle Room x3 | Festering Burrow | Combat | 1, 2 | F1 38.9% · F2 52.3% |
| Common Event Goblin Settlement Stage 1 x4 | Festering Burrow | Event | 1 | F1 12.1% |
| Common Event Goblin Settlement Stage 2 x2 | Festering Burrow | Event | 2 | F2 7.6% |
Chance on the floor: the share of 10000 floors rolled in the Dungeon Floor Simulator that hold this room, with every NPC room in the draw.